Some time ago, I bought a TL-WR703N WiFi router for less than 15€. It came with a Chinese firmware that I overwrote with an OpenWRT image and connected to my ADSL router.
This device is really cool but once you flash it with an OpenWRT image you’ll find out that there’s almost no free space (4MB total flash) so I decided to use an external USB memory to increase the available space and turn it into a useful gadget 🙂
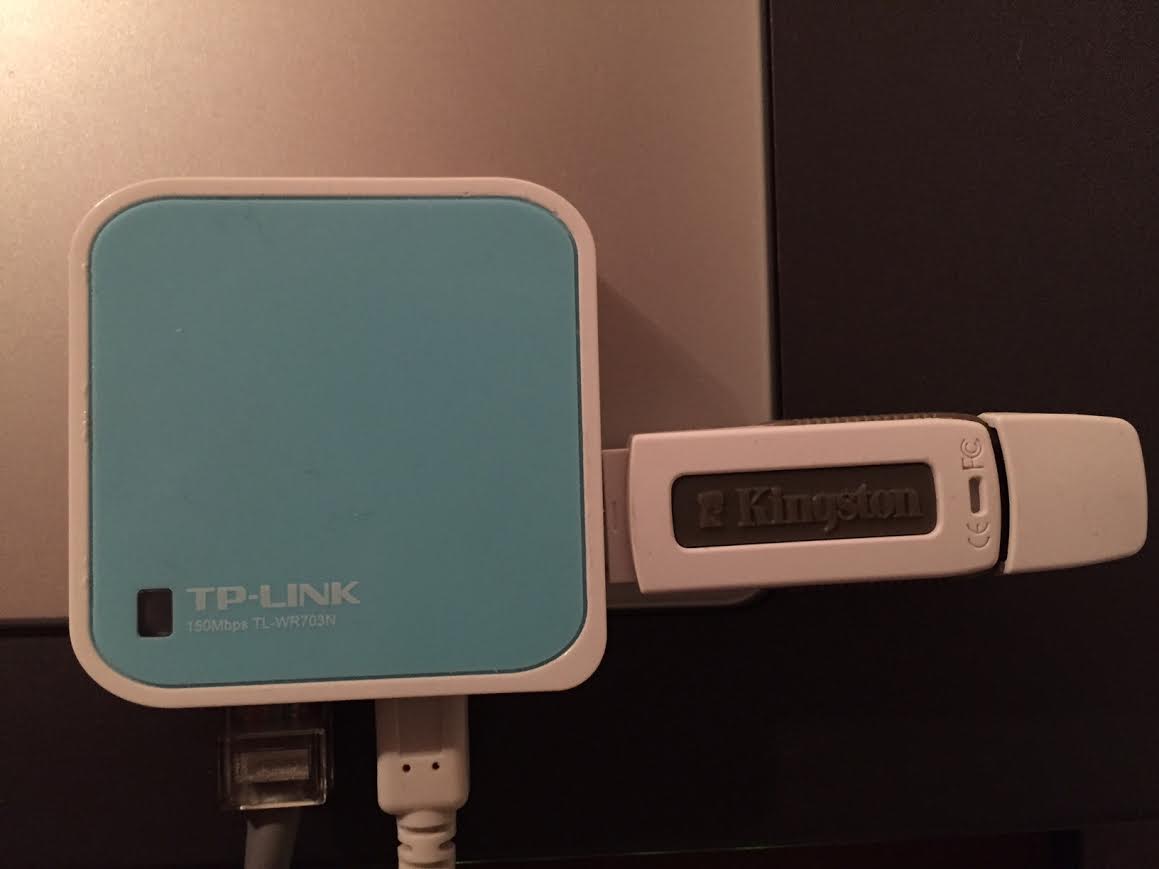
I used to have stunnel and OpenVPN servers running on my PC but since I didn’t want to have the computer on all day, I decided to replace it with this small device which makes no noise and consumes very low power (around 80mA/~0.4W with WiFi on if I disable the blue LED :))
First thing I did was setting up an AP and disable my router’s WiFi network since its antenna was surprisingly better and my old router doesn’t support WiFi n. So my devices at home would connect to the WR703N WiFi network which was bridged with the ethernet interface to the ADSL router.
After this introduction, I’ll explain how to set up an OpenVPN server to browse securely anywhere from your phone which is especially useful if you’re using free or untrusted wifi networks out there.
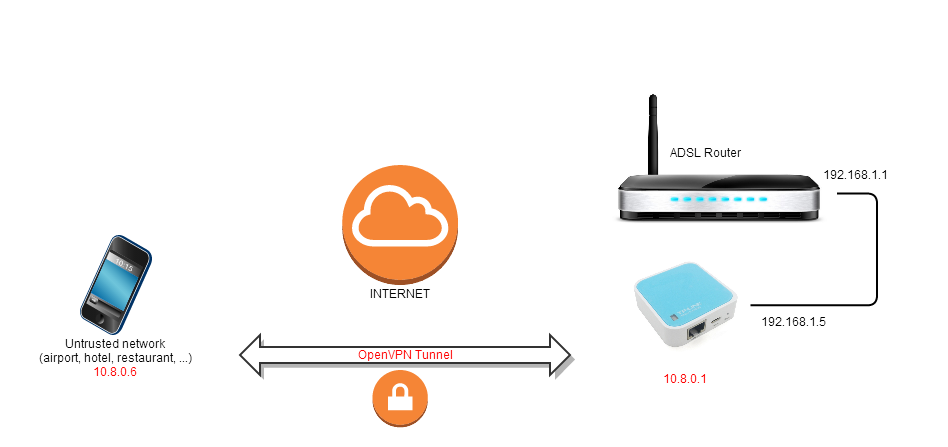
OpenVPN Diagram
At the moment of writing, I’m on the latest OpenWRT version which is Attitude Adjustment 12.09, r36088.
Required packages:
- openvpn-easy-rsa – 2.2.2-2 – Simple shell scripts to manage a Certificate Authority
- openvpn – 2.2.2-2 – Open source VPN solution using SSL
1. Certificates and keys generation
The easy-rsa package helps you create the CA, server and client certificates but you can either create them yourself or use existing ones created somehow (as long as you keep your private keys secret 🙂
I created 2048 bit RSA certificates with the help of the easy-rsa tool:
Edit the /etc/easy-rsa/vars file and change the KEY_SIZE value to 2048
export KEY_SIZE=2048
Also, feel free to change the certificate public data such as the common name, country, etc.
root@OpenWrt:/etc/easy-rsa# build-ca

NOTE: If you run ./clean-all, I will be doing a rm -rf on /etc/easy-rsa/keys

Generating a 2048 bit RSA private key

..................................+++

writing new private key to 'ca.key'

-----
Now generate the DH parameters and the server and client certificates signed by the previous CA.
build-dh

build-key-server server

build-key-pkcs12 daniiphone
Afterwards, all those files will be located under /etc/easy-rsa/keys and must be copied over to the openvpn directory:
root@OpenWrt:/etc/easy-rsa/keys# cp ca.crt ca.key dh2048.pem server.crt server.key /etc/openvpn/
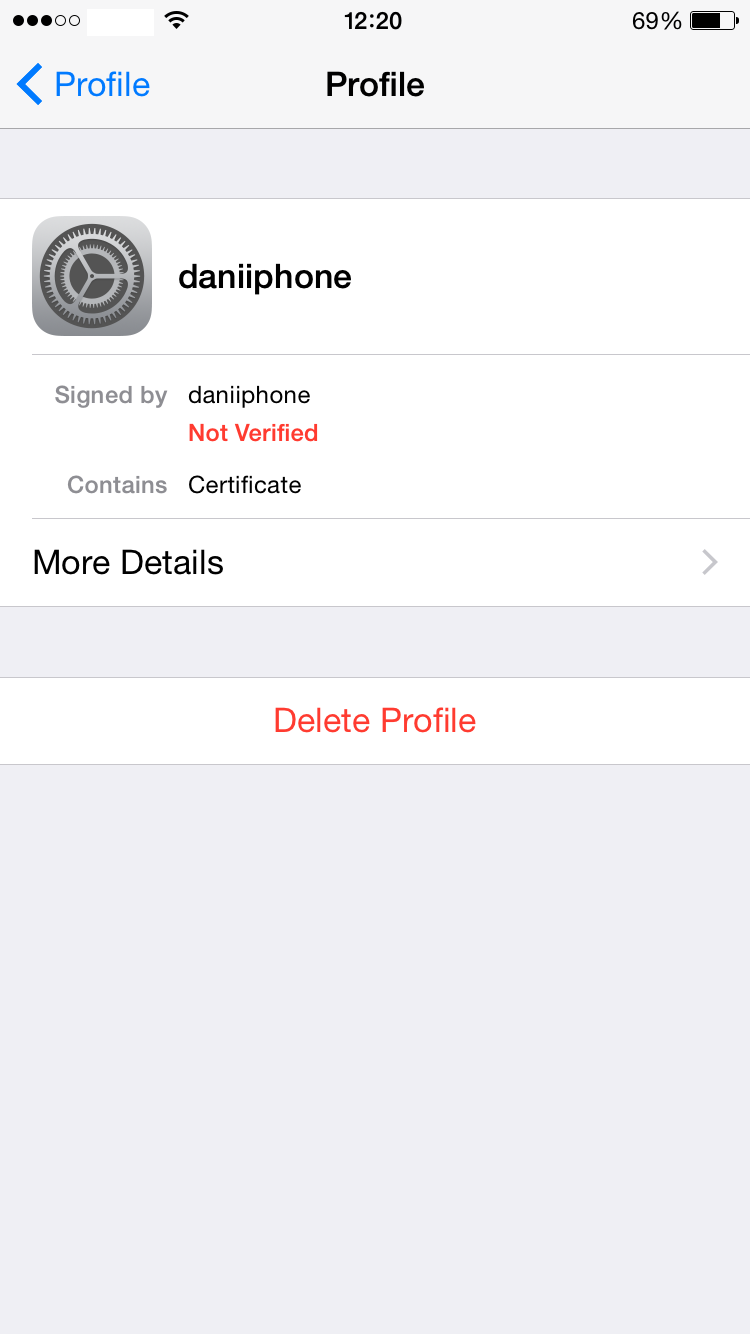
The client certificate is not needed on the server side but we’ve generated it inside the WR703N and must be copied onto the client (in this case, my iPhone). We’ve generated the client certificate (daniiphone) in PKCS12 format which includes both the public certificate and the private key. It’s really important to protect it with a password because you’re gonna send it to your e-mail in order to import it from the OpenVPN iOS app. At the time of creating it, you’ll be prompted to enter a password.
2. Server side configuration
I’ve configured the OpenVPN server as follows using uci (you can do it by editing /etc/config/openvpn file).
root@OpenWrt:/etc/openvpn# uci show openvpn

openvpn.myvpn=openvpn

openvpn.myvpn.enable=1

openvpn.myvpn.port=1194

openvpn.myvpn.proto=udp

openvpn.myvpn.dev=tun

openvpn.myvpn.ca=/etc/openvpn/ca.crt

openvpn.myvpn.cert=/etc/openvpn/server.crt

openvpn.myvpn.key=/etc/openvpn/server.key

openvpn.myvpn.dh=/etc/openvpn/dh2048.pem

openvpn.myvpn.ifconfig_pool_persist=/tmp/ipp.txt

openvpn.myvpn.keepalive=10 120

openvpn.myvpn.persist_key=1

openvpn.myvpn.persist_tun=1

openvpn.myvpn.status=/var/log/openvpn-status.log

openvpn.myvpn.verb=3

openvpn.myvpn.server=10.8.0.0 255.255.255.0

openvpn.myvpn.client_to_client=1

openvpn.myvpn.comp_lzo=1

openvpn.myvpn.push=route 192.168.1.0 255.255.255.0 dhcp-option DNS 192.168.1.1 dhcp-option DOMAIN 192.168.1.1
These settings tell the server to listen on UDP port 1194 (which needs to be forwarded in your ADSL router to the WR703N IP address) and sets the VPN network at 10.8.0.0/24 (clients will be assigned an IP address in this subnet).
The last line creates a default route to my lan network 192.168.1.0/24 and shall be replaced with your own configuration.
Now we need to create a rule in the firewall to permit the VPN traffic. Add the following rule to the /etc/config/firewall file on the OpenWRT system:
config 'rule'

option 'target' 'ACCEPT'

option 'name' 'vpn'

option 'src' 'wan'

option 'proto' 'udp'

option 'dest_port' '1194'
In order to forward traffic from the VPN to the wan connection, we need to enable forwarding on the tun interface and create an NAT to the local interface:
iptables -I INPUT -i tun+ -j ACCEPT

iptables -I FORWARD -i tun+ -j ACCEPT

iptables -I OUTPUT -o tun+ -j ACCEPT

iptables -I FORWARD -o tun+ -j ACCEPT

iptables -t nat -A POSTROUTING -s 10.8.0.0/24 -j SNAT --to-source 192.168.1.5
Replace the 192.168.1.5 with your OpenWRT lan IP address and start the openvpn service:
Enable OpenVPN service autostart
root@OpenWrt:~# /etc/init.d/openvpn enable
Start the service
root@OpenWrt:~# /etc/init.d/openvpn start
2. Client side configuration
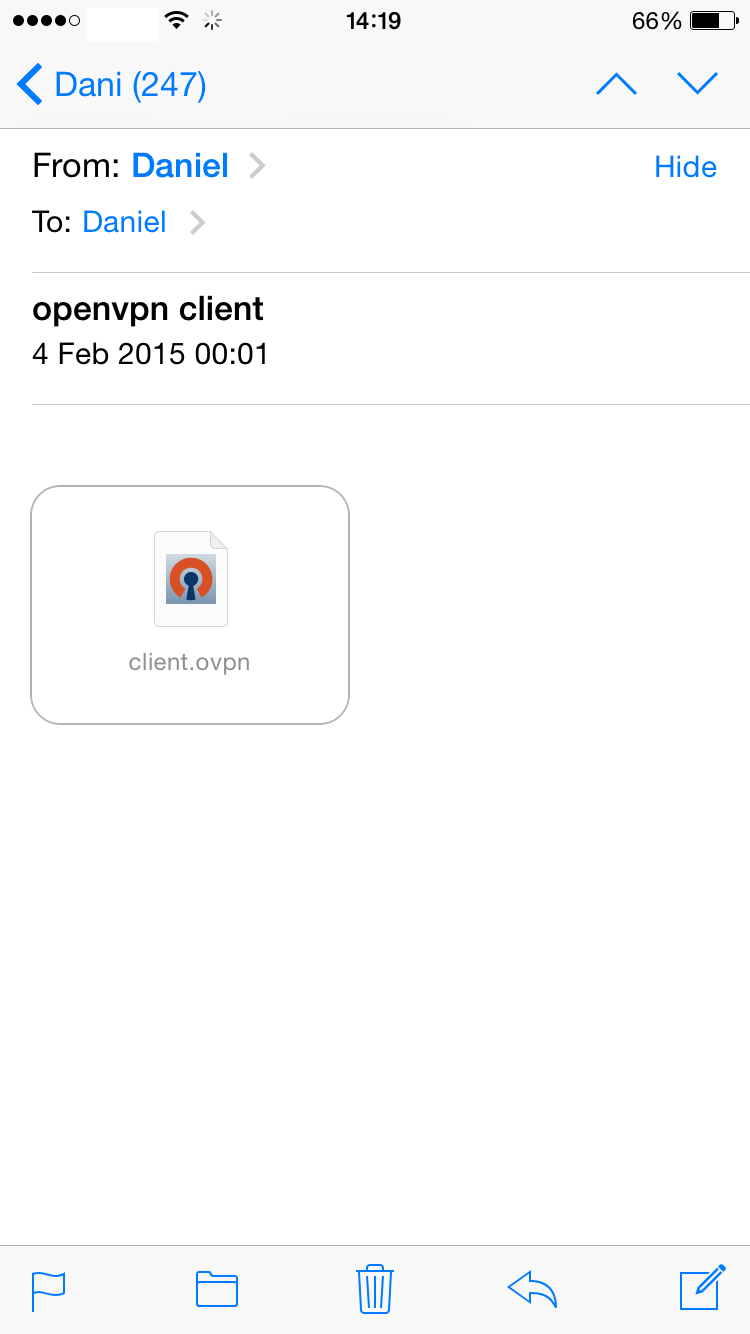
Now we need to setup the iPhone (it should work on Android phones or any computer running OpenVPN) to connect to our VPN server. First we need to transfer the .p12 file created in the first step and import it to the phone from an e-mail attachment.

Install Certificate
Certificate Installed
Once you have successfully imported the certificate file to the iPhone, it’s time to load the OpenVPN configuration. In order to load it easily, create a .OVPN file like this one:
client

dev tun

proto udp

remote your-public-ip-address 1194

comp-lzo

redirect-gateway

<ca>

-----BEGIN CERTIFICATE-----

MIIE3zCCA8egAwIB/

....

oZEG

-----END CERTIFICATE-----

</ca>

nobind

persist-key

persist-tun

user nobody

group nogroup

resolv-restry infinite
Make sure you specify your public IP address and your CA certificate inside the configuration. This CA is needed because we have used a self-signed CA which is not trusted by the OS so if we didn’t include this certificate within the configuration, the OpenVPN client would not trust the certificate presented by the server during the TLS negotiation.
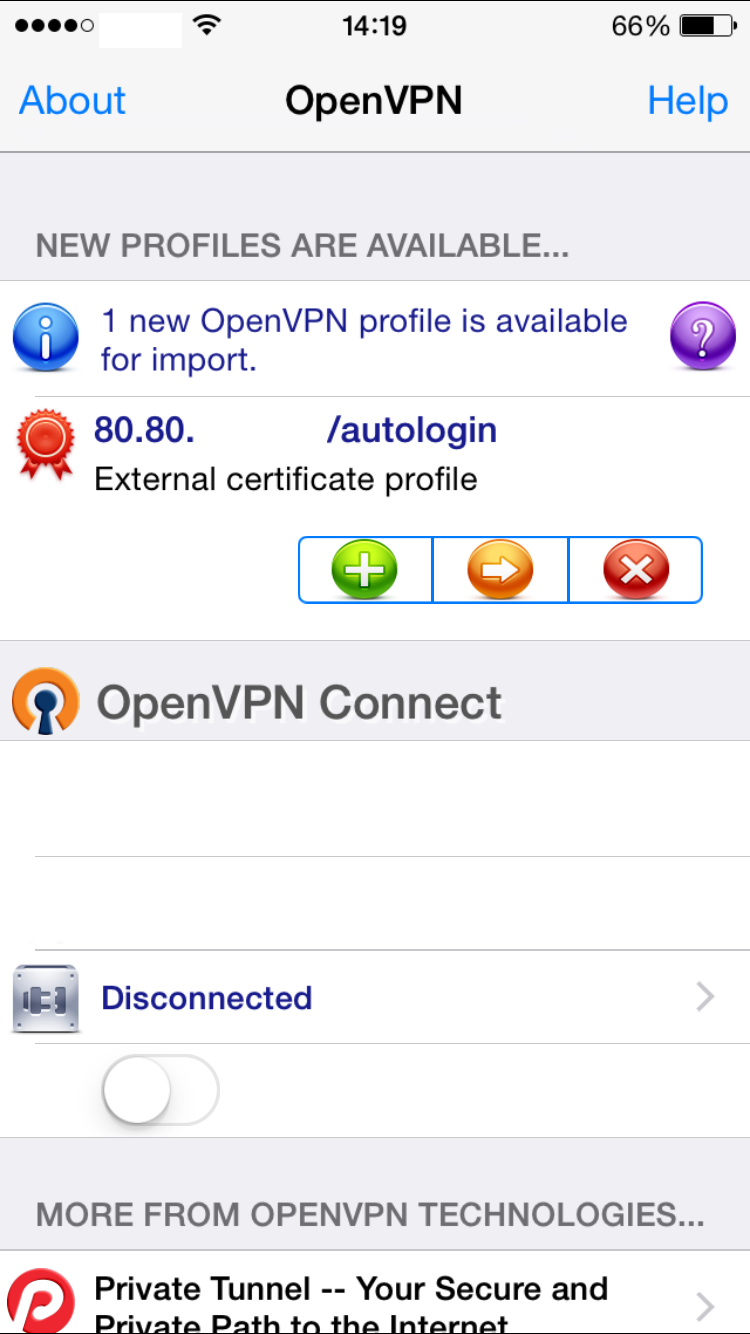
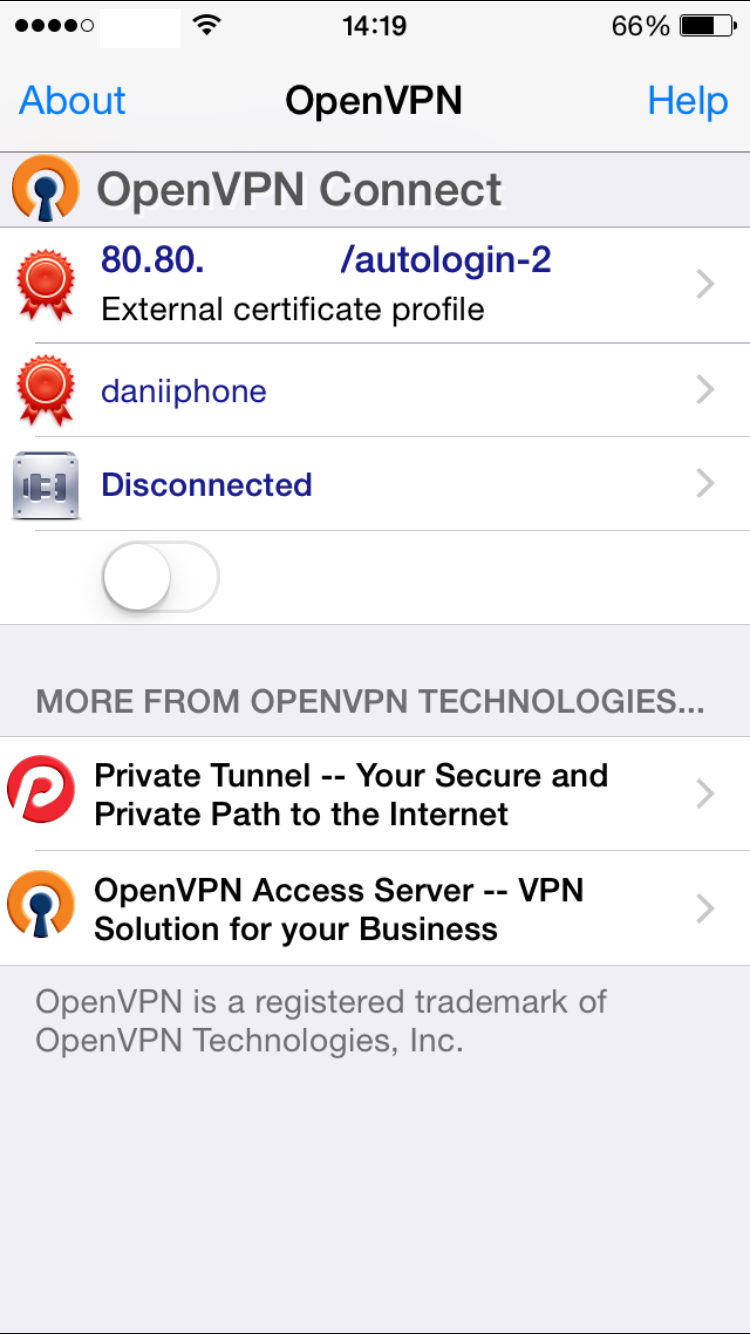
This .OVPN file has to be imported from an e-mail attachment directly into the OpenVNP app. Once imported, click on the green “Add” button to associate the previous certificate and its private key to this profile. In your configuration you should be able to see your remote IP address (or hostname) instead of “80.80.” which I’ve edited in the screenshots below.
Import OVPN file
Add imported certificate
OpenVPN Profile
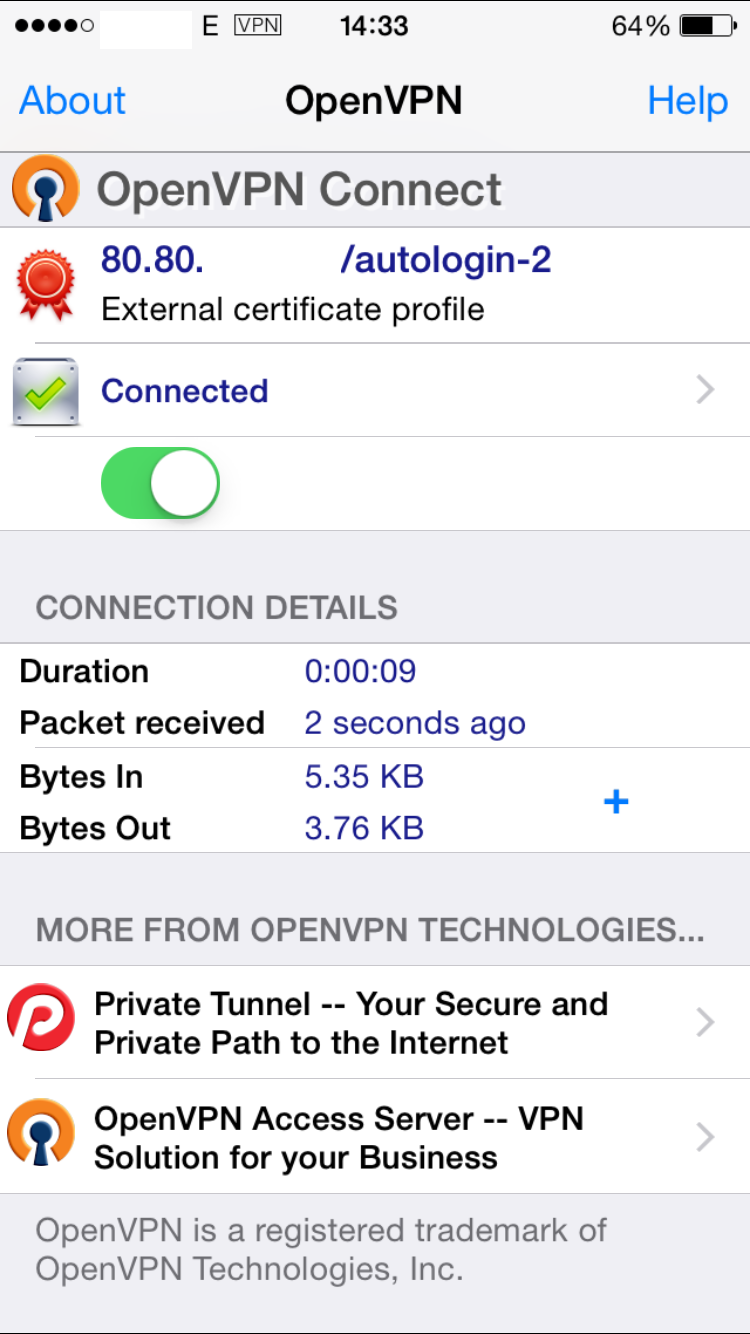
OpenVPN connected
Now that the tunnel has been setup, you should be able to see the “VPN” symbol on the status bar of your iPhone and all your traffic will be encrypted up to your home network. In order to test the connectivity and the forwarding rules, I try to access the OpenWRT Luci web configuration by typing the WR703N IP address in Safari:
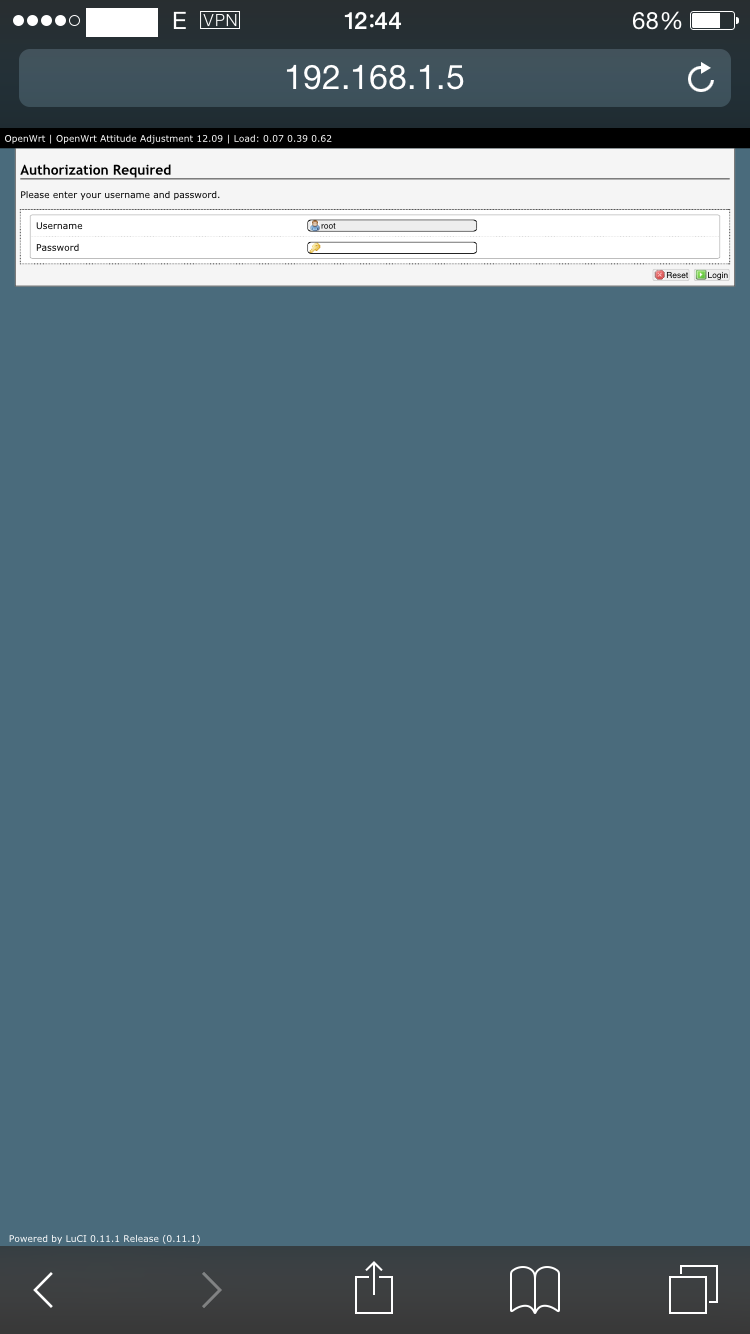
OpenWRT Luci
Now, your iPhone is connected to your home network and all the traffic will go through your ADSL connection. Anyone trying to eavesdrop on the WiFi network will only be able to see tons of encrypted traffic.
It’s very important that you keep the CA private key secret in order to avoid “man-in-the-middle” attacks, as well as protect the .p12 file when you send it over to your phone.